The full error message displayed is along the following lines;
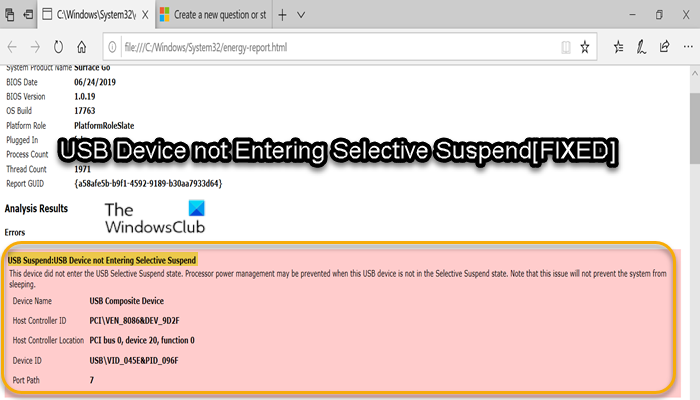
USB Suspend:USB Device not Entering Selective Suspend
If you’re faced with this issue, you can try our recommended solutions below in no particular order and see if that helps to resolve the USB Suspend:USB Device not Entering Selective Suspend issue on your Windows 11/10 device. This device did not enter the USB Selective Suspend state. Processor power management may be prevented when this USB device is not in the Selective Suspend state. Note that this issue will not prevent the system from sleeping. Let’s take a look at the description of the process involved concerning each of the listed solutions.
1] Run Power Troubleshooter
The issue that occurred on your Windows 11/10 PC is power-related; in this case, you can run the inbuilt Power Troubleshooter and let it check for and automatically detect and fix Power issues. To run Power Troubleshooter on your Windows 11 device, do the following:
Press Windows key + I to open Settings app.Navigate to System > Troubleshoot > Other troubleshooters.Under the Other section, find Power.Click Run button.Follow on-screen instructions and apply any recommended fixes.
To run the Power Troubleshooter on your Windows 10 PC, do the following:
Press Windows key + I to open Settings app.Go to Update and Security.Click the Troubleshooter tab.Scroll down and click on Power.Click the Run the troubleshooter button.Follow on-screen instructions and apply any recommended fixes.
If the automated wizard wasn’t helpful, you can try the next solution.
2] Enable USB Selective Suspend
The USB Selective Suspend is a pretty nifty feature for laptop and tablet users, in that it saves power from unnecessary USB devices. If USB Selective Suspend is disabled on your Windows 11/10 system, it’s likely you will encounter the issue in view. In this case, you can enable USB Selective Suspend via Power Options or Registry Editor. Try the next solution if this feature is already enabled on your device.
3] Change Power Plan
A Power Plan in Windows 11/10 is a set of system and hardware settings to manage how your device consumes and conserves power. By default, you can pick from three predefined plans (or schemes), including Balanced, Power saver, and High performance. You may be experiencing this issue due to an incorrect power configuration for performance on your device. In this case, to resolve the issue, you can change and/or create a custom Power Plan and specify the custom active Power Plan, and force Windows to use the plan. PC users can also change the Power Plan type using the PowerCFG command and can easily troubleshoot Power Plans to fix common Power problems and issues in Windows 11/10.
4] Reset and restore Power Plans to default
If changing Power Plan wasn’t helpful or the error in view started to occur after you have changed Power Plan, you can reset and restore Power Plans to default and see if that helps.
5] Check and Replace battery (if applicable)
The error in hand simply means that the USB device connected to your Windows 11/10 PC is also consuming power since it did not enter the selective suspend state. So, to determine whether your PC has a hardware battery issue, you can check the health of the laptop battery and make a note of the difference between the device battery’s full charge capacity and its designed capacity from the most recent battery report. To run the battery report on your device, do the following:
Press Windows key + R to invoke the Run dialog.In the Run dialog box, type cmd and then hit Enter to open Command Prompt.In the command prompt window, type the command below and hit Enter. A file path will be displayed and that’s where you can find the battery report.
Now, if the full charge capacity is lower than the design capacity, it indicates your device is already having a hardware battery issue and you may need to get a replacement. You can also use third-party Battery Test software & Diagnostic tools for Windows 11/0.
Hope this helps! Related post: Selective Suspend causes USB devices on USB hub to stop working
How do I turn off USB power saving mode in Windows 10?
To turn off USB power saving mode or disable USB Selective Suspend settings in Windows 11/10, follow these instructions: follow the steps below:
Press Windows + X.Choose Power Options.Select Choose when to turn off the display.Open Change advanced power settings.Expand USB settings and USB selective suspend setting.Select Enabled (default) or Disabled.Click Apply > OK.
What is Windows 10 USB selective suspend setting?
The Windows 11/10 operating system includes the USB selective suspend feature that lets PC users automatically put USB devices in a very low-power state when the devices are not actively in use.